The holiday season is upon us, and with it comes the opportunity to express your festive spirit in various ways. One delightful way to embrace the Christmas cheer is through a Christmas manicure. As the year draws to a close, many are seeking creative and unique ways to celebrate, and what better way than to adorn your nails with the colors and symbols of Christmas? From classic reds and greens to sparkling silvers and golds, a Christmas manicure can add a touch of joy and elegance to your holiday ensemble.
Every year, the trends in nail art evolve, offering new designs and techniques for enthusiasts to try. This year, Christmas manicure trends are all about personalization and creativity. Whether you prefer a subtle nod to the season with a simple snowflake or a bold statement with intricate designs, there's a Christmas manicure style for everyone. Nail salons are buzzing with requests for holiday-themed designs, and DIY enthusiasts are flocking to stores for the latest nail polishes and accessories.
Creating the perfect Christmas manicure requires a bit of planning and a dash of inspiration. In this comprehensive guide, we'll explore the latest trends, tips, and techniques to help you achieve a stunning Christmas manicure. From selecting the right colors and tools to mastering the art of nail care, this article offers everything you need to know to ensure your nails are as festive as your holiday celebrations. So, gather your favorite polishes and decorations, and let's dive into the world of Christmas manicure magic!
Read also:Lancome Cosmetics An Indepth Look At Luxurious Beauty Products
Table of Contents
- What is a Christmas Manicure?
- The Importance of Nail Care
- Choosing the Right Colors
- Essential Tools for a Christmas Manicure
- Trending Christmas Manicure Designs
- How to Prepare Your Nails?
- Step-by-Step Guide to a Christmas Manicure
- Tips for Maintaining Your Christmas Manicure
- DIY vs. Professional Manicure: Which is Better?
- Common Mistakes to Avoid
- How to Remove Your Christmas Manicure?
- FAQs
- Conclusion
What is a Christmas Manicure?
A Christmas manicure is a festive nail art style tailored specifically for the holiday season. It incorporates traditional Christmas symbols, colors, and motifs, such as snowflakes, reindeer, Christmas trees, and classic holiday hues like red, green, gold, and silver. The purpose of a Christmas manicure is to reflect the joyful and celebratory spirit of the holiday season, allowing individuals to express their creativity and holiday cheer through their nail designs.
The Importance of Nail Care
Before diving into the world of Christmas manicures, it's crucial to understand the importance of proper nail care. Healthy nails form the foundation for any nail art, ensuring longevity and a polished finish. Regular nail care routines help prevent common issues such as brittle nails, breakage, and fungal infections, allowing for a smooth application of nail polish and designs.
Choosing the Right Colors
Selecting the right colors is a pivotal step in creating a stunning Christmas manicure. Traditional colors like red and green are staples of the holiday season, symbolizing warmth and festivity. However, modern trends encourage the use of additional hues such as gold, silver, and even pastels for a contemporary twist. The key is to choose colors that complement your skin tone and align with your personal style, ensuring a harmonious and festive look.
Essential Tools for a Christmas Manicure
Achieving a flawless Christmas manicure requires the right set of tools. Here are some essentials you'll need:
- Nail File: For shaping and smoothing nail edges.
- Cuticle Pusher: To gently push back cuticles for a neat look.
- Base Coat: Protects nails and provides a smooth surface for polish.
- Top Coat: Seals the design and adds shine.
- Nail Art Brushes: For intricate designs and details.
- Dotting Tools: Perfect for creating dots and small designs.
Trending Christmas Manicure Designs
This season, Christmas manicure designs are all about creativity and personalization. Here are some trending designs to consider:
- Classic Red and Green: Timeless and always in style, this combination is a staple for Christmas manicures.
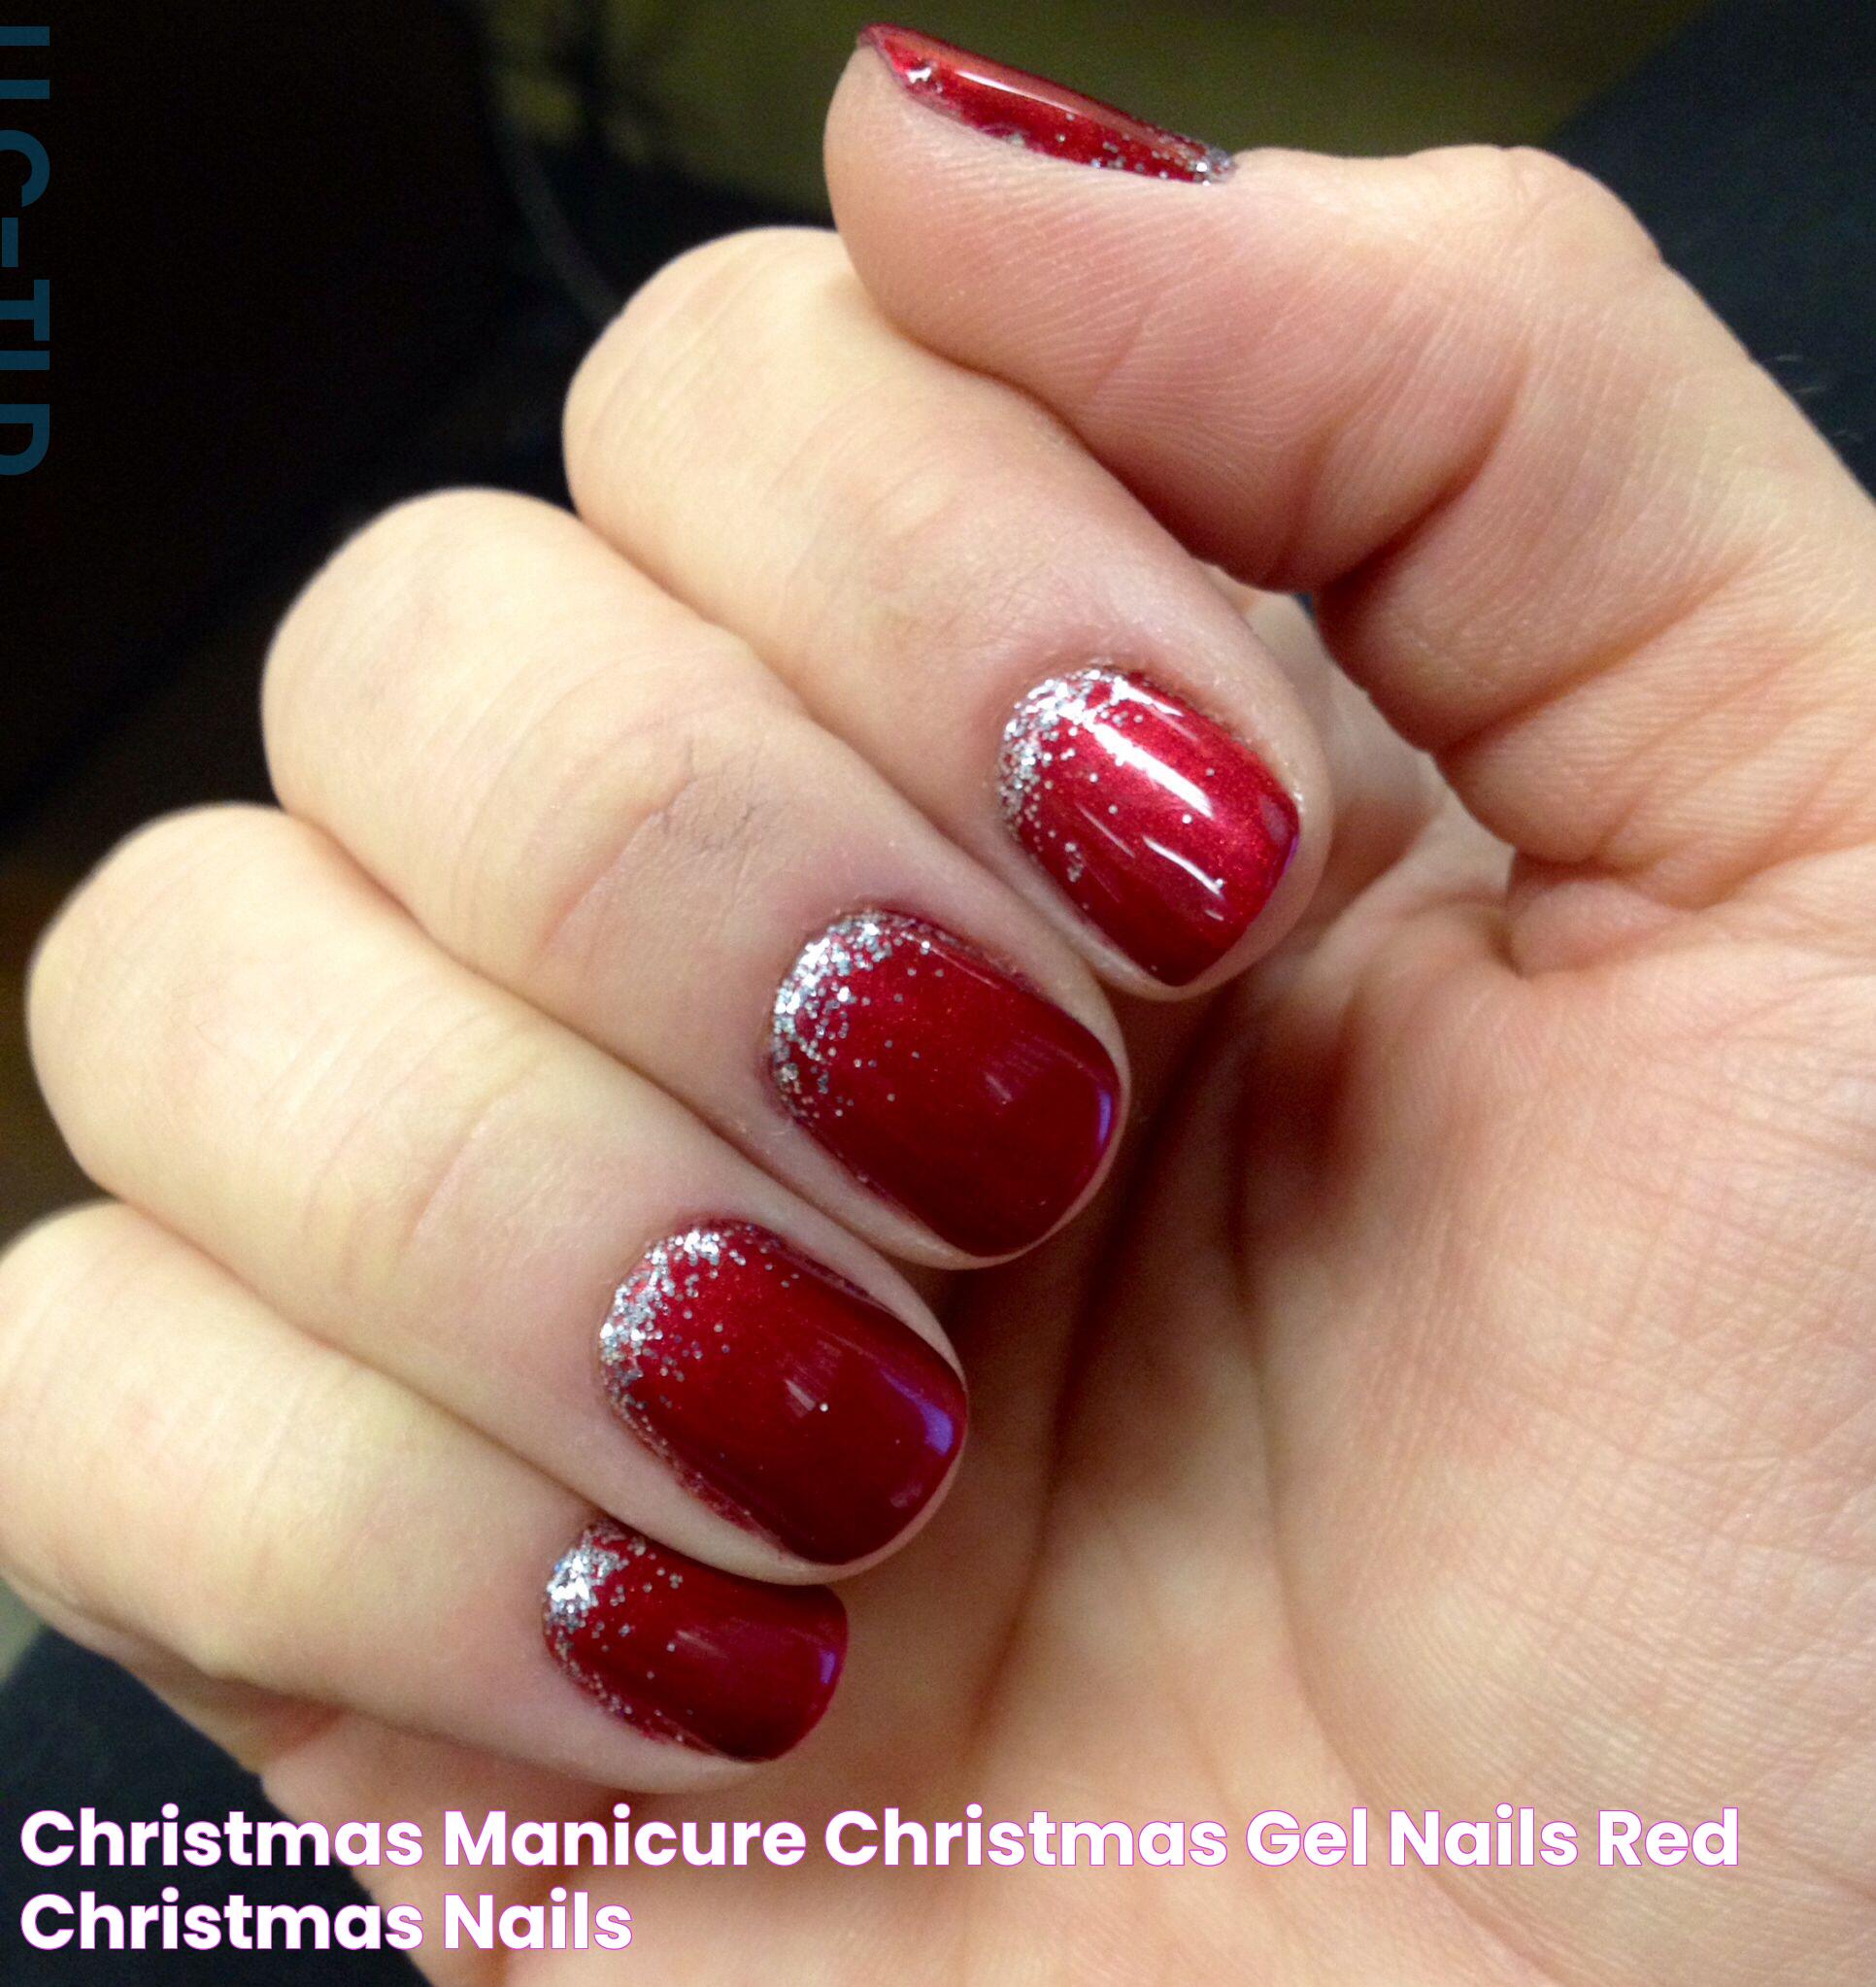
- Glitter and Glam: Add a touch of sparkle to your nails with glitter polish in gold or silver.
- Snowflake Accents: Delicate snowflakes create a winter wonderland effect on your nails.
- Festive French Tips: A modern twist on the classic French manicure using red and green tips.
- Holiday Characters: Incorporate designs featuring Santa, reindeer, or snowmen for a playful look.
How to Prepare Your Nails?
Preparation is key to achieving a lasting Christmas manicure. Follow these steps to ready your nails:
Read also:Drunk Elephant Moisturizer The Ultimate Guide To Radiant Skin
- Clean Your Nails: Remove any old polish and wash your hands thoroughly.
- Trim and File: Shape your nails to your desired length and shape using a nail file.
- Soak and Push Back Cuticles: Soak your nails in warm water, then gently push back cuticles.
- Apply Base Coat: Protects the nail surface and enhances polish adherence.
Step-by-Step Guide to a Christmas Manicure
Creating a Christmas manicure can be a fun and rewarding experience. Follow this step-by-step guide for a perfect festive look:
- Select Your Design: Choose a design that suits your style and skill level.
- Gather Your Tools: Ensure you have all necessary tools and polishes.
- Paint Your Base Color: Start with a base color that complements your design.
- Add Details: Use nail art brushes and dotting tools to add intricate details.
- Seal with Top Coat: Apply a top coat to protect your design and add shine.
Tips for Maintaining Your Christmas Manicure
To keep your Christmas manicure looking fresh throughout the holiday season, consider these maintenance tips:
- Avoid Harsh Chemicals: Use gloves when cleaning or doing dishes to protect your nails.
- Moisturize Regularly: Apply cuticle oil and hand lotion to keep nails and skin hydrated.
- Touch Up as Needed: Keep your polish looking fresh by touching up any chips or cracks.
DIY vs. Professional Manicure: Which is Better?
When it comes to Christmas manicures, you have the option to do it yourself or visit a professional salon. Each option has its pros and cons:
- DIY Manicure: Cost-effective, allows for creativity, and can be done at your convenience.
- Professional Manicure: Offers expert precision, a wide range of designs, and a relaxing experience.
Common Mistakes to Avoid
To achieve a flawless Christmas manicure, steer clear of these common pitfalls:
- Skipping Base and Top Coats: These are essential for a long-lasting manicure.
- Applying Thick Layers: Thin layers of polish dry faster and last longer.
- Neglecting Nail Health: Healthy nails are the foundation of a beautiful manicure.
How to Remove Your Christmas Manicure?
When it's time to bid farewell to your Christmas manicure, follow these steps for safe removal:
- Gather Supplies: You'll need nail polish remover, cotton balls, and aluminum foil.
- Soak Cotton Balls: Soak cotton balls in nail polish remover and place them on each nail.
- Wrap with Foil: Wrap aluminum foil around each finger to hold the cotton in place.
- Wait 10-15 Minutes: Allow the remover to work, then gently slide off the polish.
FAQs
1. Can I achieve a Christmas manicure at home?
Yes, with the right tools and techniques, you can successfully create a beautiful Christmas manicure at home.
2. How long does a Christmas manicure last?
With proper care, a Christmas manicure can last up to two weeks.
3. What colors are best for a Christmas manicure?
Traditional colors such as red, green, gold, and silver are popular choices for a Christmas manicure.
4. Are there any quick designs for beginners?
Yes, simple designs such as polka dots, stripes, or a single accent nail are great for beginners.
5. How do I make my Christmas manicure last longer?
Apply a top coat every few days, avoid harsh chemicals, and moisturize your nails to extend the life of your manicure.
6. What should I do if my nails are damaged after removing a manicure?
Use a strengthening nail treatment and keep nails moisturized to help repair any damage.
Conclusion
In conclusion, a Christmas manicure is a delightful way to celebrate the holiday season and showcase your festive spirit. By following the tips and techniques outlined in this guide, you can create a beautiful and lasting manicure that complements your holiday celebrations. Whether you choose a classic design or explore new trends, remember that the most important aspect is to enjoy the process and have fun expressing yourself through your Christmas manicure.